Lindberg Jolly Roger Pirate Ship Instructions: A Comprehensive Guide
Embark on a thrilling journey constructing the Lindberg Jolly Roger! This guide details building this iconic pirate ship model, referencing experienced modelers’ logs and tutorials.
The Lindberg Jolly Roger pirate ship kit is a classic for model builders, offering a captivating glimpse into the Golden Age of Piracy. Released decades ago, it remains popular due to its detailed design and historical inspiration. Many enthusiasts fondly recall building this model, often seeking guidance from online communities like Model Ship World, where numerous build logs document the process.
This kit isn’t simply about assembling plastic parts; it’s about recreating a piece of maritime history. The Jolly Roger’s design closely resembles captured pirate vessels, making it a historically-grounded project. Builders often share tips on enhancing the model, from weathering techniques to rigging intricacies. This guide aims to consolidate that collective knowledge, providing a comprehensive resource for both novice and experienced modelers.
Historical Context of Pirate Ships
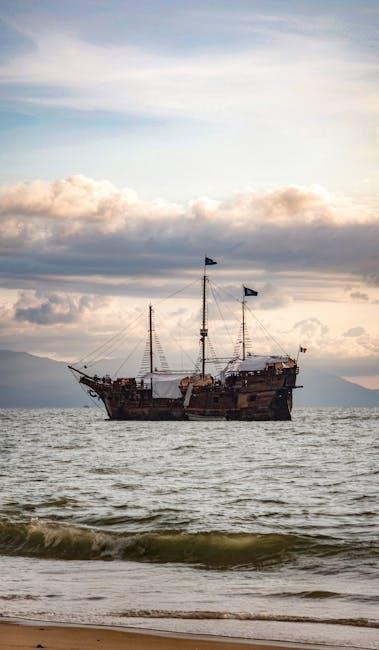
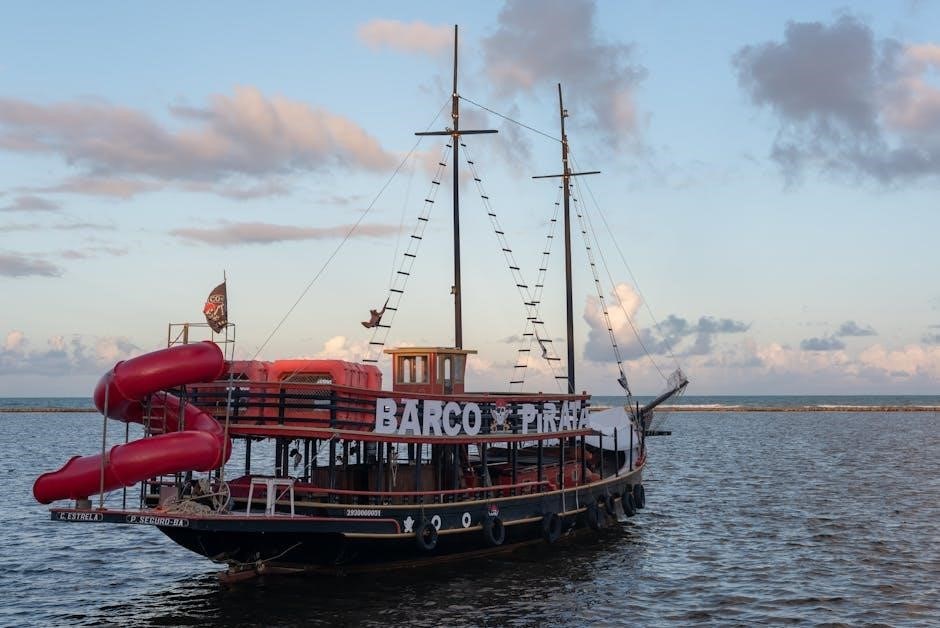
Pirate ships of the 17th and 18th centuries weren’t purpose-built for piracy; they were often captured merchant vessels or smaller warships refitted for speed and maneuverability. Speed was crucial for both chasing prey and escaping naval forces. Pirates favored sloops and brigs, modifying them with extra sails and streamlined hulls.
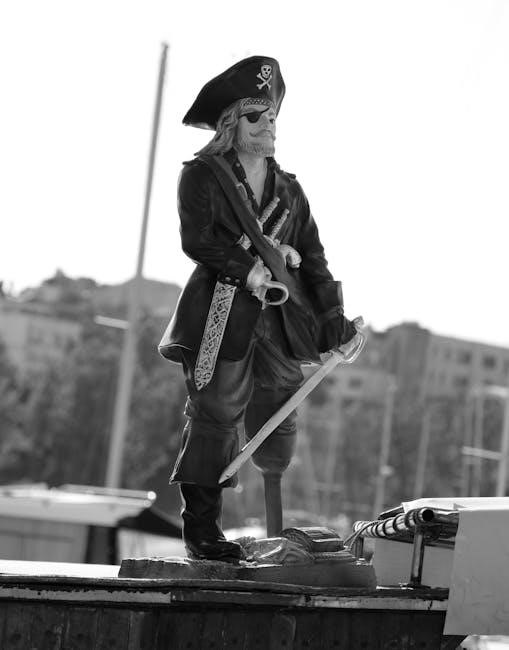
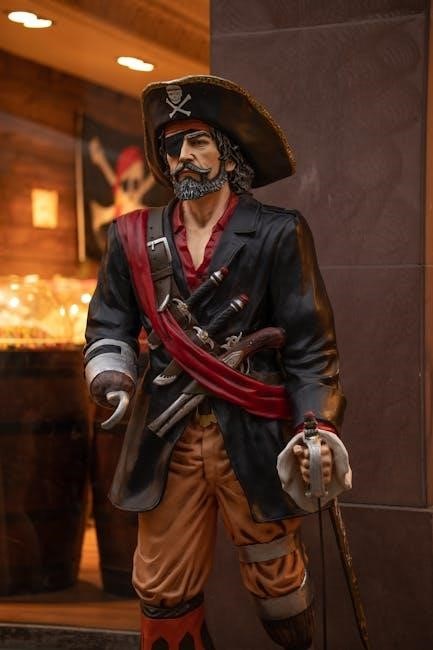
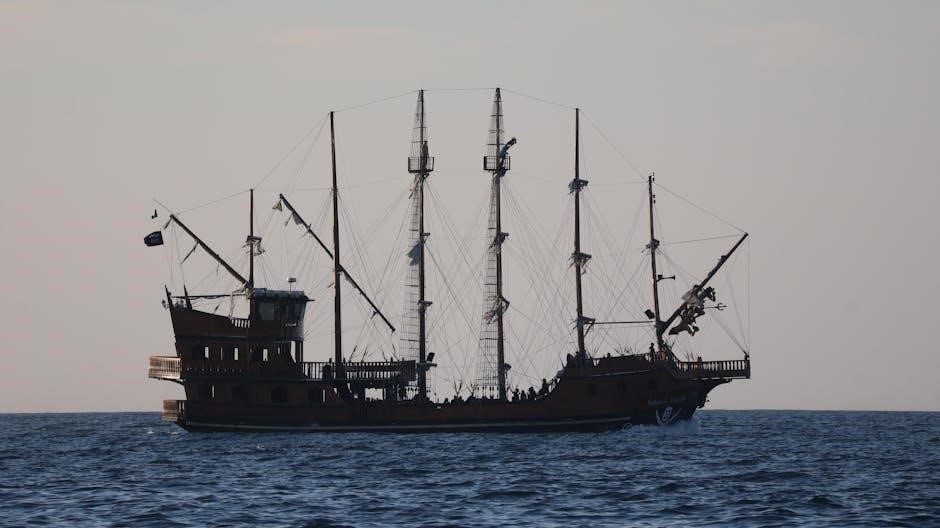
The Jolly Roger, the iconic pirate flag, served as a psychological weapon, intended to intimidate victims into surrendering without a fight. While the Lindberg kit represents a romanticized vision, understanding the practicalities of pirate vessels – their construction, armaments, and crew organization – enhances the building experience. These ships were floating fortresses, adapted for a life of plunder and adventure on the high seas.
Understanding the Kit Contents
The Lindberg Jolly Roger kit arrives with numerous plastic parts, meticulously molded to recreate the ship’s intricate details. Careful examination of the sprues is essential before commencing construction. The kit includes the hull halves, decking sections, masts, spars, and a wealth of smaller components for rigging and detailing.
A detailed decal sheet provides flags, pennants, and potentially some decorative elements. Familiarizing yourself with the parts layout, referencing the instruction manual, and planning the build sequence will streamline the process. Ensure you have the necessary adhesives and tools ready before beginning – a successful build relies on preparation!
Inventory of Parts
Before starting, meticulously inventory all parts against the kit’s parts list. This crucial step prevents mid-build frustration from missing components. The Lindberg Jolly Roger kit contains numerous plastic sprues, each holding various hull sections, deck fittings, masts, yards, and intricate details.
Carefully separate each part, noting any flash or mold lines requiring removal. Organize parts into labeled containers for easy access during assembly. Pay close attention to smaller components like blocks, deadeyes, and cannons, as these are easily misplaced. A thorough inventory ensures a smooth and enjoyable building experience, avoiding delays later on.
Decal Sheet Details
The Lindberg Jolly Roger kit includes a decal sheet featuring flags, emblems, and decorative elements to enhance realism. Carefully examine the sheet, noting the placement guide provided in the instructions. Decals add crucial details, like the iconic Jolly Roger flag, ship names, and ornamental designs.
Before application, cut each decal closely from the sheet to minimize carrier film. Soak the decal in lukewarm water for the recommended time, then gently slide it onto the model surface. Use a soft brush or cotton swab to remove air bubbles and ensure proper adhesion. A decal setting solution can aid in conforming the decal to curved surfaces for a professional finish.
Glue and Tools Required
Constructing the Lindberg Jolly Roger demands specific tools and adhesives. A plastic model cement is essential for bonding the kit’s plastic parts, ensuring a strong and durable assembly. Consider using a liquid cement with a fine applicator for precise application. Additionally, cyanoacrylate (super glue) can be useful for smaller, quick-bonding tasks.
Essential tools include a hobby knife for removing parts from sprues, tweezers for handling small decals, and sandpaper for smoothing surfaces. A small saw might be needed for modifying parts. Paintbrushes, files, and a cutting mat are also highly recommended for a successful build.
Hull Construction
Beginning the Lindberg Jolly Roger, hull construction forms the ship’s foundation. Carefully remove hull sides from the sprue, cleaning any excess plastic. Dry-fit the pieces to ensure a proper alignment before applying plastic cement. Assemble the port and starboard sides, ensuring a secure bond and straight form. Clamps can aid in maintaining shape during drying.
Next, attach the decking, aligning it precisely with the hull sides. The keel and false keel provide structural support; cement these components firmly into place. Pay attention to the instructions regarding the placement of these parts, as they influence the ship’s stability and appearance.
Assembling the Hull Sides

Initiating hull assembly, carefully detach the port and starboard hull sides from the sprue, utilizing sprue cutters to minimize stress. Thoroughly clean any remaining plastic remnants or flash from the edges, ensuring a smooth bonding surface. Perform a dry-fit to verify proper alignment before applying plastic cement – a crucial step for a seamless build.
Apply cement sparingly along the joining surfaces, avoiding excessive amounts that could mar the plastic. Securely clamp the hull sides together while the cement cures, maintaining a straight and accurate form. Allow ample drying time, typically 24 hours, before proceeding to the next stage of construction.
Attaching the Decking
With the hull sides securely joined, prepare the main deck piece for attachment. Carefully dry-fit the deck to the hull, ensuring a flush and even fit along all edges. Minor adjustments may be necessary; gently file or sand any areas preventing a perfect alignment. Apply plastic cement to the hull’s upper edges and the deck’s underside, distributing it evenly.
Position the deck onto the hull, applying gentle pressure to ensure full contact. Utilize clamps or weights to maintain consistent pressure during the curing process – approximately 24 hours is recommended. Inspect the seams for any gaps and address them with a suitable plastic filler, sanding smooth once dry for a pristine finish.
Adding the Keel and False Keel
After the hull sides and decking are firmly bonded, it’s time to reinforce the structure with the keel and false keel components. The keel provides essential longitudinal strength, while the false keel adds weight for stability and a more realistic profile. Begin by dry-fitting both pieces to the hull’s underside, checking for proper alignment and a snug fit.
Apply plastic cement liberally to the contact points, ensuring complete coverage. Carefully position the keel and false keel, clamping them securely in place until the adhesive fully cures. Inspect the joints for any gaps and fill them with plastic filler, sanding smooth once dry to create a seamless transition.
Superstructure and Details
With the hull established, attention shifts to building the intricate superstructure that defines the Jolly Roger’s character. This phase involves constructing the captain’s cabin, a focal point of the ship, followed by the fore and quarterdecks, which extend the working and living spaces. Carefully assemble each component, referencing the kit’s diagrams for accurate placement of windows, doors, and decorative elements.
Next, focus on creating the ship’s railings, vital for safety and visual appeal. Utilize the provided plastic stanchions and rails, gluing them securely along the deck edges. Patience is key here, ensuring a consistent height and spacing for a professional finish. These details significantly enhance the model’s realism.
Building the Captain’s Cabin
The captain’s cabin, a symbol of authority, requires meticulous assembly. Begin by carefully joining the cabin walls, ensuring square corners and a flush fit. Add the cabin roof, paying attention to the alignment with the hull’s superstructure. Next, install the windows – clear plastic pieces that allow light to enter, hinting at the interior.
Detailing is crucial; add the captain’s door, complete with hinges and a handle. Consider painting the interior with a contrasting color to the exterior, suggesting a lavishly appointed space. Finally, secure the completed cabin to the designated location on the quarterdeck, ensuring a stable and visually appealing integration with the ship’s overall structure.
Constructing the Forecastle and Quarterdeck
The forecastle and quarterdeck define the ship’s bow and stern, providing essential platforms for crew activity and weaponry. Begin by assembling the base structures, ensuring they align perfectly with the hull’s curvature. Add the railings, carefully gluing each section to create a continuous barrier.
Detailing enhances realism; incorporate miniature hatches, ladders, and capstans. The quarterdeck often features a raised platform for the captain and officers – construct this with precision. Securely attach both structures to the hull, reinforcing the joints for durability. These areas are focal points, so meticulous construction is paramount for an authentic pirate ship appearance.
Creating the Ship’s Railings

Ship’s railings are crucial for safety and visual appeal, encircling the decks and providing a sense of scale. The Lindberg kit provides railing sections; carefully remove these from the sprue, cleaning any excess plastic. Begin attaching the railings to the deck, using a small amount of glue to ensure a secure bond.
Pay attention to the curves and contours of the deck, bending the railings gently to follow the ship’s lines. Add stanchions for support, spacing them evenly along the railing’s length. Consider using photo-etched parts for enhanced detail, if available. A well-constructed railing system significantly elevates the model’s realism.
Mast and Spars Assembly
The masts and spars are the skeletal structure supporting the sails, demanding precision during assembly. Begin by carefully joining the mast sections, ensuring they are perfectly aligned. Reinforce these joints with glue for stability, as they’ll bear significant weight. Next, construct the yards and booms, attaching them to the masts at the correct positions – referencing the kit’s instructions is vital.
Dry-fitting components before gluing is highly recommended. Pay close attention to the angles and lengths of the spars, as these impact the rigging process. A solid mast and spar assembly forms the foundation for a realistic sailing ship model.
Assembling the Main Mast
The main mast, the tallest and most prominent, requires careful attention. Begin by joining the lower and upper mast sections, ensuring a seamless connection. Utilize a strong adhesive, allowing ample drying time for maximum stability. Reinforce the joint with fine thread if desired, mimicking the original construction.
Next, attach the fighting top – a platform for sharpshooters – ensuring it’s level and securely fastened. Add any included details, such as capstans or platforms, before proceeding. A straight and sturdy main mast is crucial for supporting the weight of the sails and rigging, impacting the ship’s overall appearance.
Constructing the Fore Mast and Mizzen Mast
The fore and mizzen masts, while smaller than the main mast, demand equal precision. Assemble each mast in stages, joining sections with adhesive and allowing sufficient drying time. Pay close attention to the alignment, ensuring they stand vertically. These masts support crucial sails and rigging, contributing to the ship’s balance and maneuverability.
Attach the respective fighting tops and any included details, mirroring the construction of the main mast. Reinforce joints for durability. Remember that the foremast is typically raked forward, while the mizzen mast is slightly aft, adding to the ship’s dynamic silhouette.
Rigging the Yards and Booms
Rigging the yards and booms is a meticulous process, bringing the ship to life. Begin by attaching the yardarms to the masts using thread or fine line, replicating the historical arrangement. Securely fasten the booms to the base of the masts, ensuring they can rotate freely. This allows for sail control and adjustment.
Employ a variety of knots – clove hitches, reef knots, and bowlines – to create realistic and secure connections. Refer to historical rigging diagrams for accurate placement of lines. Patience is key; take your time to achieve a clean and authentic appearance, enhancing the model’s overall realism.
Sail Construction and Rigging
Constructing and rigging the sails transforms the model into a fully-fledged pirate vessel. Carefully cut the sail material – often provided in the kit or sourced separately – to the correct shapes and sizes. Gently stretch and shape each sail, mimicking the billowing effect of wind-filled canvas. Attach the sails to the yards using thread, ensuring a slight droop for realism.
Detailed rigging involves running lines from the yards down to the deck, controlling sail position. Study historical references to accurately replicate the complex network of ropes. This stage demands patience and precision, but the resulting visual impact is substantial, completing the ship’s majestic appearance.
Preparing the Sails
Before attaching the sails, meticulous preparation is crucial for a realistic finish. Carefully remove the sail material from the sprue, cleaning any excess plastic. Gently stretch each sail to remove wrinkles, potentially using a slightly dampened cloth. Consider lightly staining the fabric with diluted tea or coffee to simulate age and weathering, enhancing the historical appearance.
Reinforce the sail edges with thin strips of fabric or thread to prevent tearing during rigging. Pay attention to the sail shapes, ensuring they accurately match the kit instructions. This foundational step significantly impacts the final aesthetic, contributing to the ship’s overall authenticity.
Attaching the Sails to the Yards
Carefully attach each prepared sail to its corresponding yard using a strong, yet flexible, thread. Begin with the larger sails, ensuring proper alignment and tension. Employ a knotting technique that allows for future adjustments during rigging – a bowline knot is often recommended. Refer to historical references and kit diagrams for accurate sail positioning and orientation.
Maintain a slight curve to the sails to simulate wind-filled conditions, avoiding a perfectly flat appearance. Secure the sails firmly, but avoid over-tightening, which could distort the fabric. Patience is key during this stage, as precise sail placement dramatically enhances the model’s realism and visual appeal.
Detailed Rigging Instructions
Begin the intricate rigging process by attaching the running rigging – lines used to control the sails. Utilize various thicknesses of thread to represent different rope sizes accurately. Follow the kit’s diagram meticulously, paying close attention to the routing of each line through blocks and pulleys. Ensure lines run smoothly and are taut, but not overly strained.
Next, address the standing rigging – the fixed lines supporting the masts. Secure these firmly to the hull and masts, creating a stable framework. Employ a variety of knots for different purposes, enhancing the model’s authenticity. Refer to online build logs for visual guidance and troubleshooting tips during this complex phase.
Finishing Touches
Bring your Jolly Roger to life with careful painting! Apply a base coat to the hull and superstructure, then add weathering effects for a realistic, aged appearance. Consider washes and dry brushing to highlight details and simulate wear and tear. Precision is key when applying the decal sheet, ensuring proper alignment and adhesion.
Finally, mount the miniature cannons along the gunwales, adding a formidable touch. Securely attach them, ensuring they are evenly spaced and aligned. A display base can enhance presentation, potentially incorporating realistic water effects. Step back and admire your completed pirate ship model – a testament to patience and skill!
Painting the Hull and Superstructure
Begin with a primer coat to ensure paint adhesion and a smooth finish. Acrylic paints are recommended for ease of use and cleanup. Research historical color schemes for pirate ships to achieve authenticity, or embrace creative freedom! Apply multiple thin coats rather than one thick coat, preventing runs and preserving detail.
Focus on achieving a weathered look; pirate ships weren’t pristine. Consider using darker shades in recesses to simulate shadows and grime. The superstructure benefits from contrasting colors to highlight architectural features. Allow each coat to dry completely before proceeding, and protect your work surface!
Applying Decals
Carefully cut out each decal from the sheet using a sharp hobby knife. Immerse the decal in lukewarm water for approximately 20-30 seconds, until it slides freely from the backing paper. Gently slide the decal onto the model’s surface, positioning it accurately.
Use a soft brush or cotton swab to remove any air bubbles and excess water. A decal setting solution can help the decal conform to curved surfaces and improve adhesion. Allow the decals to dry completely before applying a protective coat of clear varnish. This seals the decals and prevents damage during handling and weathering.
Adding Miniature Cannons
Assemble the miniature cannons according to the kit instructions, paying close attention to detail. These often consist of a barrel, carriage, and mounting bracket. Carefully glue the assembled cannons onto the designated positions along the ship’s gunwales, ensuring proper alignment and spacing.
Consider painting the cannons with a metallic color, such as gunmetal or black, to replicate their historical appearance. Adding small details like ropes or blocks around the cannons can enhance realism. Securely attach the cannons to prevent them from detaching during handling or display. This step dramatically increases the ship’s authentic pirate aesthetic.
Advanced Modeling Techniques
Elevate your Jolly Roger build with advanced techniques! Weathering and aging effects, using washes and dry brushing, simulate years at sea, adding realism to the hull and superstructure. Experiment with pigments to depict rust and grime. For realistic water effects, consider epoxy resin or acrylic gel mediums, layering shades of blue and green.
Creating a convincing seascape enhances the display. Consider building a base with sculpted waves or using a pre-made water effect base. Proper lighting can dramatically showcase your finished model. Explore online forums for inspiration and detailed tutorials on these advanced techniques, pushing your modeling skills further.

Weathering and Aging Effects
Transform your Jolly Roger into a battle-hardened vessel with weathering! Begin with a base wash of thinned brown or black acrylic paint to accentuate panel lines and details. Dry brushing with lighter shades simulates wear and tear on edges and raised surfaces. Utilize pigments – rust, grime, and soot – strategically applied to create realistic staining.
Consider chipping effects using a fine brush and silver paint to depict damaged paintwork. Vary the intensity of weathering; areas exposed to the elements should show more degradation. Research historical references for accurate weathering patterns. Subtle weathering adds immense realism, conveying the ship’s history.
Creating Realistic Water Effects
Elevate your Jolly Roger display with convincing water! Epoxy resin is ideal for larger water areas, allowing for layered effects and embedded details like debris. For smaller areas, acrylic gel mediums can simulate choppy waves. Tint the resin or gel with blues, greens, and browns for depth and realism.
White paint, lightly brushed on, creates breaking waves and foam. Consider adding texture with crumpled plastic wrap or sculpting materials beneath the resin. Experiment with different sheens – gloss for calm water, matte for rough seas. Remember lighting; backlighting enhances the water’s translucency. A well-executed water base dramatically enhances the model’s presentation.
Displaying Your Finished Model
Showcase your completed Jolly Roger with a fitting display! A custom-built diorama enhances the ship’s story, incorporating realistic water effects, islands, or even miniature figures engaged in naval combat. Consider a sturdy base to support the model’s weight and protect it from damage.
Lighting is crucial; spotlights highlight details, while ambient lighting sets the mood. A glass case protects against dust and accidental impacts. Think about the backdrop – a painted seascape or a photographic print adds context. Proper display elevates your build from a model to a captivating piece of maritime art, deserving admiration.
Resources and Community
Connect with fellow modelers for support and inspiration! Model Ship World Forums offer invaluable build logs, tips, and a vibrant community specifically focused on ship modeling. Explore online resources for detailed tutorials and shared experiences with the Lindberg Jolly Roger kit – many builders have documented their progress.
Searching for Lindberg Kit Reviews provides insights into potential challenges and successful techniques. These online communities are excellent for troubleshooting, sharing weathering techniques, and discovering innovative rigging methods. Leverage the collective knowledge to enhance your build and enjoy the camaraderie of passionate hobbyists.
Model Ship World Forums
Model Ship World is an indispensable resource for Lindberg Jolly Roger builders. Numerous threads detail complete builds of this specific kit, offering a wealth of practical advice and visual guides. Experienced modelers share their techniques for hull construction, rigging, and painting, providing solutions to common challenges.
These forums foster a supportive community where you can ask questions, receive feedback, and showcase your progress. Search existing topics to find answers to specific issues or start a new thread to connect with fellow enthusiasts. Viewing completed builds provides inspiration and demonstrates the potential of this classic model.
Online Build Logs and Tutorials
Numerous online build logs document the construction of the Lindberg Jolly Roger, offering step-by-step guidance and valuable insights. These logs, often found on sites like Model Ship World and personal blogs, showcase various approaches to assembly, detailing, and finishing. Video tutorials further enhance the learning experience, demonstrating techniques like rigging and weathering.
Following these resources allows you to learn from the successes and mistakes of other modelers. They provide visual references for complex steps and offer alternative solutions to potential problems. Examining different build styles can inspire creativity and help you personalize your own Jolly Roger model.
Lindberg Kit Reviews
Before commencing your Lindberg Jolly Roger build, exploring kit reviews is highly recommended. These reviews, available on modeling forums and websites, provide honest assessments of the kit’s strengths and weaknesses. They often detail the quality of the plastic, the accuracy of the parts, and the clarity of the instructions.
Reviewers frequently discuss potential challenges, such as fit issues or the need for aftermarket parts. Understanding these aspects beforehand allows for better preparation and problem-solving during construction. Examining multiple reviews offers a balanced perspective, helping you make informed decisions about modifications or enhancements.