
Cuisinart Frozen Yogurt, Ice Cream & Sorbet Maker: A Comprehensive Guide
This guide details using your Cuisinart machine for delicious frozen treats․ It includes instructions, recipes, and troubleshooting, ensuring perfect results in under 30 minutes․
Included is a recipe booklet for inspiration, covering yogurt, ice cream, and sorbet․ Firmness can be improved with 2 hours of freezer storage․
Understanding Your Cuisinart Machine
Your Cuisinart machine is designed for effortless creation of frozen desserts – yogurt, ice cream, and sorbet․ It operates by freezing the bowl beforehand and then churning your mixture into a delightful treat․ The double-insulated freezer bowl is key; it maintains a consistently cold temperature without needing ice․
Automatic operation simplifies the process: add ingredients, turn it on, and enjoy! The large ingredient spout allows for easy addition of mix-ins during churning․ Familiarize yourself with the components and the included instruction/recipe booklet․ Proper understanding ensures optimal performance and delicious results every time․ Remember to consult the manual for specific model details․
Model Variations & Compatibility
Cuisinart offers several frozen dessert maker models, including the ICE-30BCP1 and the classic ICE-25 series․ While core functionality remains consistent – freezing and churning – slight variations exist in features and capacity․ Compatibility primarily concerns the freezer bowl; ensure it’s fully frozen before each use, regardless of the model․
Recipe booklets often differ between models, offering tailored suggestions․ Accessories may also vary․ The ICE-25 series instruction manual is readily available online․ Generally, recipes are interchangeable, but adjust churning times based on your specific machine and desired consistency․ Always refer to your model’s manual for precise guidance․
Key Components Overview
Your Cuisinart machine comprises several essential parts․ The double-insulated freezer bowl is crucial, requiring complete freezing before operation․ A motor base houses the churning mechanism․ The mixing bowl lid with the ingredient spout allows for easy addition of mix-ins during churning․
A dasher, or paddle, mixes the ingredients․ Understanding each component’s function is vital for proper assembly and operation․ The ingredient spout prevents large additions from stopping the churning process․ Refer to your manual for a detailed diagram identifying each part and its correct placement for optimal performance․
Before First Use: Preparation
Prior to initial use, thoroughly wash the freezer bowl, lid, dasher, and ingredient spout with warm, soapy water․ Ensure all components are completely dry before assembly․ The freezer bowl requires a minimum of 16-24 hours of freezing – a critical step for successful frozen dessert creation․
Place the bowl in the coldest part of your freezer, avoiding frequent door openings․ Confirm it’s fully frozen by shaking; no liquid sloshing should be audible․ Familiarize yourself with the machine’s parts and the instruction manual to ensure a smooth first experience․
Getting Started: Basic Instructions
Begin by ensuring the bowl is fully frozen․ Add your prepared base through the ingredient spout while the machine is running․ Enjoy fresh desserts!
Freezing the Bowl: Essential Step
Achieving the correct frozen bowl temperature is absolutely crucial for successful frozen dessert creation․ The bowl must be thoroughly frozen for a minimum of 16-24 hours before initial use, and after each subsequent use․ Ensure it’s placed in the freezer flat, without anything on top of it, to allow for even freezing․
A properly frozen bowl will feel very cold to the touch and have a frosted appearance․ If the bowl isn’t adequately frozen, the mixture won’t solidify, resulting in a soupy consistency․ Don’t attempt to operate the machine if the bowl isn’t completely frozen; it won’t work effectively and could potentially damage the unit․
For consistent results, dedicate a specific space in your freezer solely for the bowl․ This prevents accidental obstruction and ensures it remains consistently cold and ready for your next frozen treat adventure!
Ingredient Spout Functionality
The large ingredient spout on your Cuisinart machine is designed for convenient addition of mix-ins during the churning process․ This feature allows you to incorporate chocolate chips, nuts, fruit pieces, or other desired flavors without interrupting the freezing cycle․
To utilize the spout, simply turn on the machine and slowly pour your mix-ins through the opening while the mixture is churning․ Avoid adding too much at once, as this could overwhelm the machine and affect the final texture․ A steady stream is recommended for optimal distribution․
Remember to only add mix-ins during the last few minutes of churning to prevent them from becoming overly frozen or crushed․ This ensures a delightful texture in every bite!
Assembling the Machine Correctly
Proper assembly is crucial for optimal performance of your Cuisinart frozen dessert maker; First, ensure the freezer bowl is thoroughly frozen – typically at least 24 hours․ Next, place the dasher assembly into the bowl, aligning the motor shaft with the opening․
Securely attach the outer bowl and lid to the dasher assembly, ensuring a snug fit․ The lid should lock into place, creating a sealed environment for churning․ Double-check that all components are correctly aligned before plugging in the machine․
Incorrect assembly can lead to leakage, uneven freezing, or even damage to the unit․ Refer to your instruction manual for detailed diagrams and guidance․
Making Frozen Yogurt: Step-by-Step
Prepare your yogurt base, then pour it into the frozen bowl․ Turn on the machine and add mix-ins via the ingredient spout for delicious results!
Yogurt Base Recipes: Options
Creating the perfect yogurt base is crucial for exceptional frozen yogurt․ Begin with a simple blend of yogurt – Greek yogurt yields a thicker consistency – and a sweetener like honey or sugar․ Experiment with different yogurt fat contents to adjust the final texture․
For a richer base, incorporate cream or milk․ Fruit purees, such as mango (using fresh, ripe mangoes for optimal flavor), can be blended directly into the base․ Consider adding a touch of vanilla extract or lemon juice to enhance the overall taste profile․
Alternatively, explore recipes utilizing yogurt combined with condensed milk for a sweeter, creamier outcome․ Remember to chill the base thoroughly before churning in your Cuisinart machine for best results․
Adding Flavors & Mix-Ins
The large ingredient spout on your Cuisinart machine simplifies adding flavors and mix-ins during the churning process․ For best results, add these during the last few minutes of churning, preventing them from becoming overly crushed․
Popular mix-ins include chocolate chips, chopped nuts, fruit pieces, cookies, or even swirls of jam or caramel․ Liquid flavors, like extracts or sauces, can be added directly to the base before churning․
Be mindful of quantity; excessive mix-ins can hinder the freezing process․ A general guideline is to use no more than one cup of mix-ins per quart of base․ Experiment to discover your favorite combinations!
Churning Time & Consistency
Churning typically takes between 20 to 30 minutes, but this can vary depending on the recipe, ambient temperature, and the machine’s starting conditions․ Monitor the mixture’s consistency; it should resemble soft-serve ice cream․
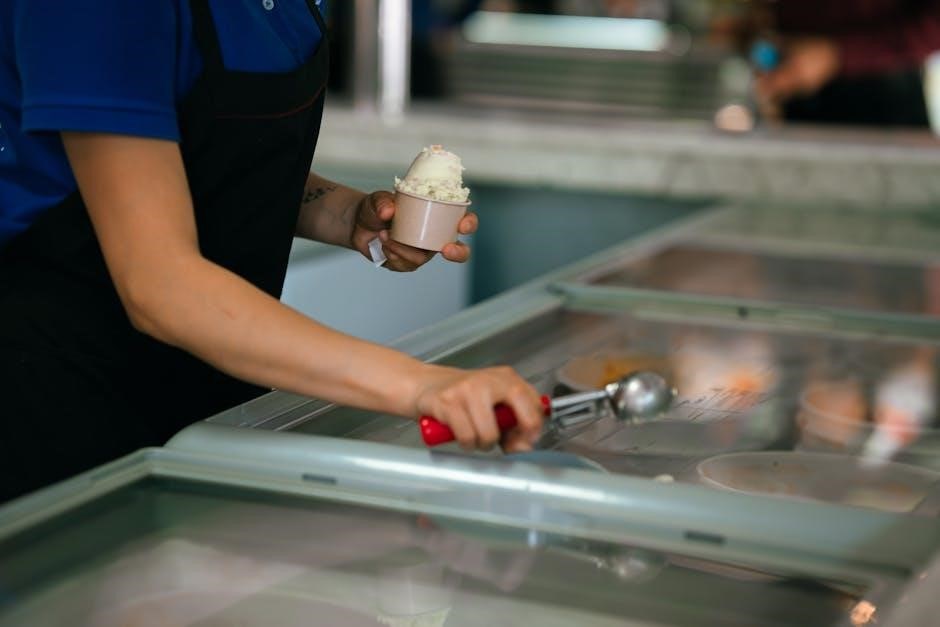
If a firmer consistency is desired, transfer the frozen dessert to an airtight container and place it in the freezer for approximately 2 hours․ This allows it to harden further․
Remove from the freezer about 15 minutes before serving for easier scooping․ Note that homemade frozen desserts may not achieve the exact same hardness as commercially produced varieties․
Making Ice Cream: A Detailed Process
Simply add your ice cream base to the frozen bowl, turn the machine on, and enjoy freshly made ice cream in under 30 minutes!
Classic Ice Cream Recipes
Explore delightful classic ice cream recipes perfectly suited for your Cuisinart machine․ Begin with a simple vanilla base: combine 2 cups heavy cream, ¾ cup sugar, and 1 teaspoon vanilla extract․ For chocolate, add ½ cup cocoa powder to the base․
Remember to chill the base thoroughly before churning – at least 2 hours is recommended for optimal texture․ The machine’s ingredient spout allows for adding mix-ins like chocolate chips, nuts, or fruit during the final minutes of churning․
If a firmer consistency is desired, transfer the freshly churned ice cream to an airtight container and freeze for approximately 2 hours before serving․ This enhances the overall texture and enjoyment!
Achieving the Perfect Texture
Optimal texture relies on a fully frozen bowl and a well-chilled base․ Ensure the bowl is frozen for at least 24 hours before use․ The base mixture should be refrigerated for a minimum of 2 hours, ideally longer, to maximize smoothness․
Churning time varies, but generally 20-30 minutes yields a soft-serve consistency․ For a firmer texture, transfer the mixture to a freezer-safe container and freeze for an additional 2 hours․
Avoid overfilling the bowl; leave ample space for expansion during churning․ Consistent monitoring and adjusting churning time are key to achieving your desired ice cream texture․
Dealing with Soft Serve Consistency
Soft serve consistency is typical immediately after churning․ This is perfectly normal and often preferred for immediate enjoyment! However, if a firmer texture is desired, a simple solution exists․
Transfer the freshly churned mixture to an airtight container․ Place this container into your freezer for approximately 2 hours․ This “hardening” process will significantly improve the scoopability and overall firmness of your frozen dessert․
Remember to remove the container about 15 minutes before serving to allow for easier scooping․ Enjoy your perfectly textured homemade treat!
Making Sorbet: Refreshing & Fruity
Sorbet base preparation is key! Use fresh, ripe fruit for optimal flavor․ Adjust sweetness to your preference for a truly refreshing, homemade sorbet experience․
Sorbet Base Preparation
Creating a flavorful sorbet base begins with a simple syrup․ Combine equal parts sugar and water in a saucepan, heating until the sugar dissolves completely․ Allow this mixture to cool fully before proceeding – this is crucial for optimal freezing․
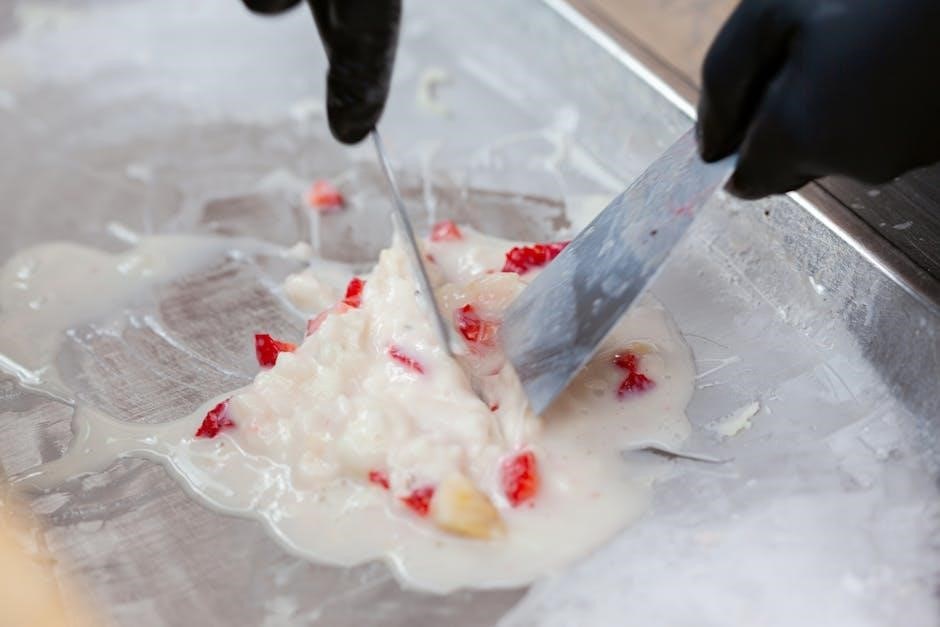
Next, incorporate your chosen fruit․ Pureeing the fruit ensures a smooth texture, eliminating any icy crystals․ The quantity of fruit will influence the sorbet’s intensity; experiment to find your ideal balance․
For a brighter flavor, add a touch of citrus juice, like lemon or lime․ This also helps prevent crystallization․ Remember to strain the mixture before churning to remove any seeds or pulp, resulting in a refined sorbet texture․
Fruit Selection for Optimal Flavor
Choosing ripe, high-quality fruit is paramount for exceptional sorbet․ The flavor intensity directly correlates with the fruit’s ripeness; underripe fruit will yield a bland result․ Mangoes, for example, should be fragrant and slightly soft to the touch for the best frozen yogurt․
Consider seasonal fruits at their peak for maximum flavor․ Berries, peaches, and plums are excellent choices during their respective seasons․ Frozen fruit can be used as a convenient alternative, though fresh fruit generally provides a superior taste․
Experiment with combinations! Pairing complementary fruits can create complex and delightful sorbet flavors․ Don’t be afraid to try unique blends to discover your personal favorites․
Adjusting Sweetness Levels
Sweetness is crucial in sorbet, as freezing dulls the perception of sugar․ Start with the recipe’s suggested amount, but taste the base before churning․ Adjust gradually, adding small increments of sugar or sweetener until the desired level is reached․
Consider the natural sweetness of the fruit; riper fruits require less added sugar․ For tart fruits like raspberries, you may need to increase the sugar slightly․ Liquid sweeteners like simple syrup dissolve more easily than granulated sugar․
Remember, you can always add more sweetness, but it’s difficult to remove it․ Taste frequently throughout the process to achieve the perfect balance․
Troubleshooting Common Issues
If the machine doesn’t start, check the power connection․ For soft mixtures, freeze for 2 hours․ Crystals form if the dessert isn’t stored airtight․
Machine Not Turning On
First, ensure the machine is properly plugged into a functioning electrical outlet․ Verify the outlet is delivering power by testing it with another device․ Next, double-check that the freezer bowl is securely locked into place; the machine won’t operate if it doesn’t detect proper assembly․
Confirm the unit’s on/off switch is fully engaged․ Sometimes, a simple reset can resolve the issue – unplug the machine for a few minutes, then plug it back in and try again․ If problems persist, inspect the power cord for any visible damage․ Do not attempt to repair the cord yourself; contact customer support for assistance․
Frozen Mixture Too Soft
If your frozen dessert lacks desired firmness, transfer it immediately to an airtight container․ Place this container in the freezer for approximately two hours to allow for further hardening․ This step is crucial, especially for achieving a scoopable consistency․
Ensure the freezer bowl was thoroughly frozen for the recommended duration – at least 24 hours – before use․ Insufficient freezing of the bowl is a common cause of soft mixtures․ Consider the recipe; some formulations naturally yield softer results․ Adjusting ingredients or adding stabilizers can improve texture․
Crystals Forming in Frozen Dessert
Ice crystal formation often indicates slow freezing or temperature fluctuations․ Ensure your freezer bowl is completely frozen – a minimum of 24 hours is vital․ Rapid freezing is key to minimizing crystal size․ Using high-fat content ingredients in your base can also help, as fat interferes with crystal development․
Proper storage is crucial; transfer the finished dessert to an airtight container immediately․ Avoid repeatedly thawing and refreezing, as this encourages larger crystals to form․ Consider adding a small amount of corn syrup or glucose to the base; these act as natural anti-crystallizing agents․
Cleaning & Maintenance
Disassemble components after each use for thorough cleaning․ Hand washing is recommended, though some parts are dishwasher safe․ Proper storage prevents damage․
Disassembling for Cleaning
Before cleaning, always unplug your Cuisinart frozen dessert maker․ Carefully remove the freezer bowl from the unit․ Detach the mixing arm – it typically pulls straight up and off․ Next, remove the dasher (the paddle inside the mixing arm)․ The lid and ingredient spout are also easily removable for separate washing․
Ensure all parts are fully detached before proceeding․ Inspect each component for any remaining frozen dessert․ A quick rinse with warm water can help loosen stubborn residue․ Remember to handle the freezer bowl with care, as sudden temperature changes could cause damage․ Proper disassembly simplifies the cleaning process and ensures longevity of your machine․
Hand Washing vs․ Dishwasher
Most Cuisinart frozen dessert maker parts are dishwasher-safe, offering convenience․ However, hand washing is often recommended to preserve the quality and appearance of the components․ The freezer bowl, being aluminum, should never be washed in a dishwasher, as it can lose its freezing properties․
For dishwasher use, place parts on the top rack․ When hand washing, use warm, soapy water and a soft sponge․ Avoid abrasive cleaners that could scratch surfaces․ Thoroughly rinse and dry all parts before reassembling․ Prioritizing gentle cleaning extends the lifespan of your machine and maintains optimal performance․
Proper Storage Techniques
To ensure longevity, store your Cuisinart machine properly․ Always completely dry all components before storage․ The freezer bowl requires special attention; it should be stored in the freezer to maintain its chilling capability, ready for the next use․ Avoid storing it at room temperature․
The motor unit and other parts can be stored in a cool, dry place, away from direct sunlight․ Keep the instruction booklet handy for future reference․ Proper storage prevents damage and ensures your machine is always ready to create delicious frozen desserts․ Regular checks for cleanliness are also advised․
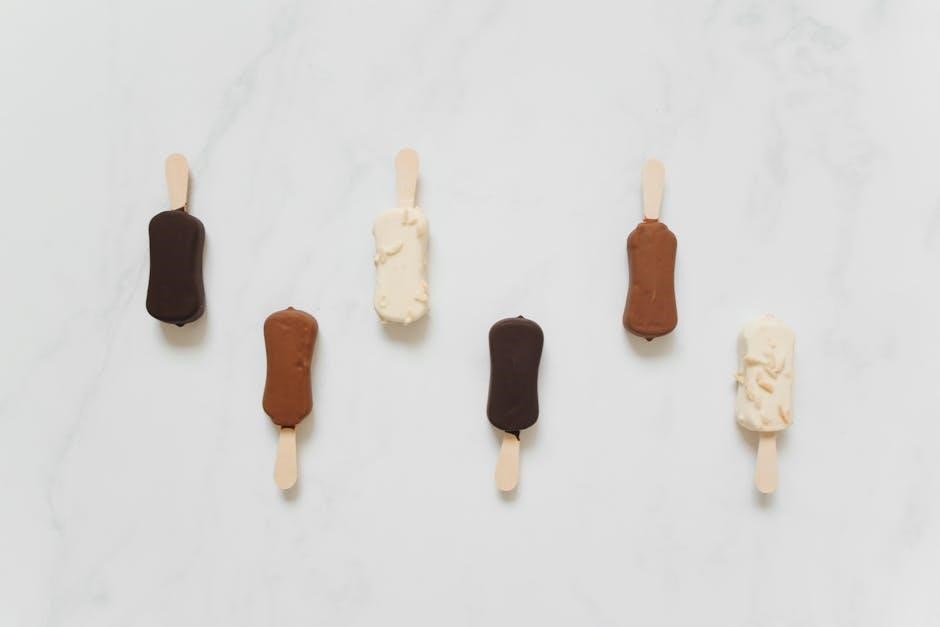
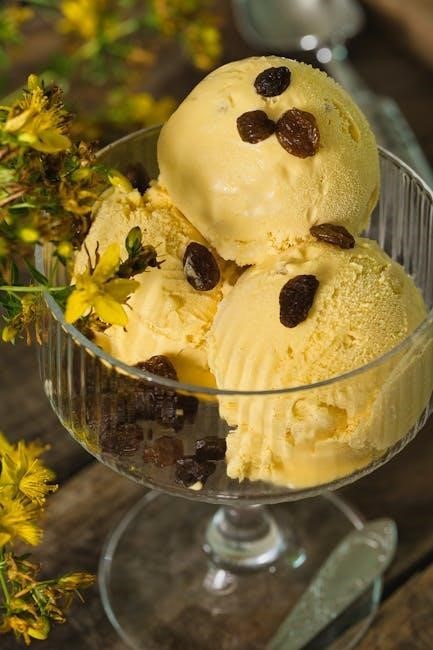
Recipes & Inspiration
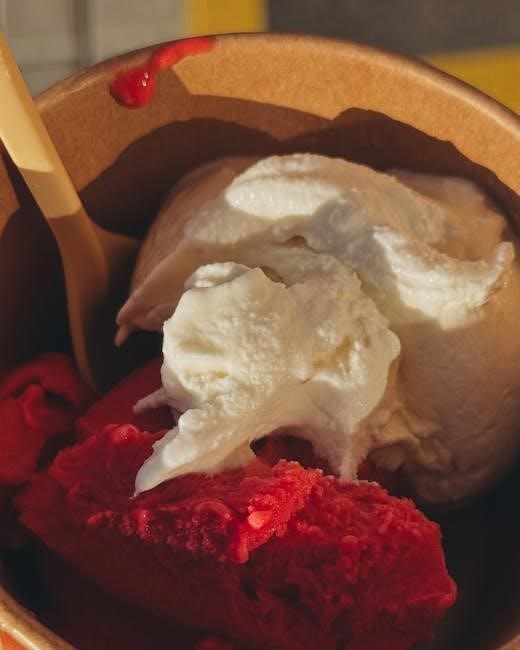
Explore delightful recipes like Mango Frozen Yogurt, Chocolate Ice Cream, and Strawberry Sorbet! Utilize fresh, ripe ingredients for optimal flavor and texture in every batch․
Mango Frozen Yogurt Recipe
To create a vibrant Mango Frozen Yogurt, begin with 2 cups of peeled, chopped fresh mangoes – ensure they are ripe for the best flavor․ Combine the mango with 1 cup of plain yogurt, ½ cup of sugar (adjust to taste), and 2 tablespoons of lemon juice in a blender․
Blend until completely smooth․ Pour the mixture into your pre-frozen Cuisinart freezer bowl․ Churn for approximately 20-25 minutes, or until it reaches a soft-serve consistency․ For a firmer texture, transfer to an airtight container and freeze for an additional 2 hours․ Remove from the freezer 15 minutes before serving for easier scooping!
Enjoy this refreshing and healthy treat!
Chocolate Ice Cream Recipe
For a classic Chocolate Ice Cream, combine 2 cups of heavy cream, ¾ cup of whole milk, ¾ cup of granulated sugar, and ¼ cup of unsweetened cocoa powder in a saucepan․ Heat gently, stirring until the sugar dissolves and the cocoa is fully incorporated․ Do not boil!
Remove from heat and stir in 1 teaspoon of vanilla extract․ Chill the mixture thoroughly – at least 4 hours, or preferably overnight․ Pour into your pre-frozen Cuisinart freezer bowl and churn for 20-25 minutes․ For a firmer consistency, freeze for an additional 2 hours․ Enjoy this decadent treat!
Strawberry Sorbet Recipe
To create a refreshing Strawberry Sorbet, begin with 2 pounds of fresh, ripe strawberries – quality matters! Combine the strawberries with ¾ cup of granulated sugar and ¼ cup of water in a blender․ Blend until completely smooth․ For a smoother texture, strain the mixture through a fine-mesh sieve to remove seeds․
Chill the strawberry puree thoroughly – at least 2 hours․ Pour into your pre-frozen Cuisinart freezer bowl and churn for 20-25 minutes․ Adjust sweetness to your preference․ Serve immediately for a soft sorbet, or freeze for a firmer consistency․

Advanced Techniques & Tips
Experiment with layering mix-ins during churning for varied textures․ Adjust recipes for dietary needs, and consider additives to enhance consistency and flavor profiles․
Layering Flavors & Mix-Ins
Achieving a dynamic dessert experience with your Cuisinart maker involves strategic layering․ During the final minutes of churning, slowly add mix-ins like chocolate chips, fruit pieces, or nuts through the ingredient spout․ This prevents them from sinking to the bottom․
For a ripple effect, drizzle melted chocolate or fruit purees down the sides of the bowl as it churns․ Alternating layers of different flavored bases—vanilla then strawberry, for example—creates a visually appealing and flavorful treat․ Remember to avoid overfilling, allowing space for proper mixing․ Experiment with textures, combining crunchy elements with smooth bases for a delightful contrast․
Adjusting Recipes for Dietary Needs
Adapting recipes for dietary restrictions is easily achievable with your Cuisinart machine․ For dairy-free options, substitute coconut milk or almond milk for traditional dairy․ Ensure the chosen alternative has a sufficient fat content for optimal texture․
To create sugar-free desserts, utilize natural sweeteners like stevia or erythritol, adjusting quantities to taste․ Vegan recipes require plant-based alternatives for all dairy components․ Experiment with fruit purees to enhance sweetness and flavor․ Always consider how substitutions might affect the freezing process and adjust churning time accordingly for desired consistency․
Improving Consistency with Additives
Achieving the perfect frozen dessert texture often benefits from strategic additives․ Gelatin or cornstarch, used in small amounts, can prevent ice crystal formation, resulting in a smoother consistency․ For richer ice cream, add a tablespoon of vodka – it inhibits complete freezing, creating a softer serve․
Guar gum or xanthan gum, also in minimal quantities, act as stabilizers, enhancing creaminess․ Consider adding a touch of glucose syrup to prevent crystallization and maintain a scoopable texture․ Remember to thoroughly blend additives into the base before churning for even distribution and optimal results․
Safety Precautions
Always unplug the machine before cleaning․ Ensure proper electrical safety and avoid component misuse․ Never operate a damaged machine, preventing potential hazards․
Electrical Safety Guidelines
Prioritize safety when operating your Cuisinart frozen dessert maker․ Always ensure the machine is plugged into a grounded electrical outlet, matching the voltage specified on the appliance․ Never immerse the motor base in water or any other liquid, as this presents a severe shock hazard․
Inspect the power cord regularly for any signs of damage․ If the cord is damaged, it must be replaced by the manufacturer, its service agent, or similarly qualified persons to avoid danger․ Do not operate the appliance with a damaged cord or plug․ Avoid using extension cords; if necessary, use a heavy-duty extension cord appropriately rated for the appliance’s power consumption․
Unplug the machine from the outlet when not in use, before cleaning, and during assembly or disassembly․ Never pull the cord to disconnect the appliance; grasp the plug instead․
Proper Usage of Components
Correct assembly is crucial for optimal performance․ Ensure the freezer bowl is thoroughly frozen – typically 24 hours – before use․ Carefully attach the bowl to the motor base, aligning it securely․ The ingredient spout facilitates adding mix-ins during churning; avoid overfilling․
The mixing blade must be properly inserted into the freezer bowl before operation․ Do not operate the machine without the blade in place․ Follow recipe instructions regarding ingredient quantities and chilling times․ Avoid using metal utensils inside the bowl, as they can damage the non-stick surface․
Always allow the machine to come to a complete stop before disassembling․ Handle components with care to prevent damage․
Avoiding Damage to the Machine
Never immerse the motor base in water or any other liquid․ Always unplug the machine before cleaning or disassembling․ Do not operate the machine continuously for extended periods; allow it to rest to prevent overheating․ Avoid forcing components together during assembly․
Ensure the freezer bowl is completely frozen before each use; a partially frozen bowl can strain the motor․ Do not use metal utensils inside the bowl, as they can scratch and damage the non-stick coating․ Avoid dropping or impacting the freezer bowl, as it is fragile․
Proper storage is key; protect the machine from extreme temperatures and humidity․